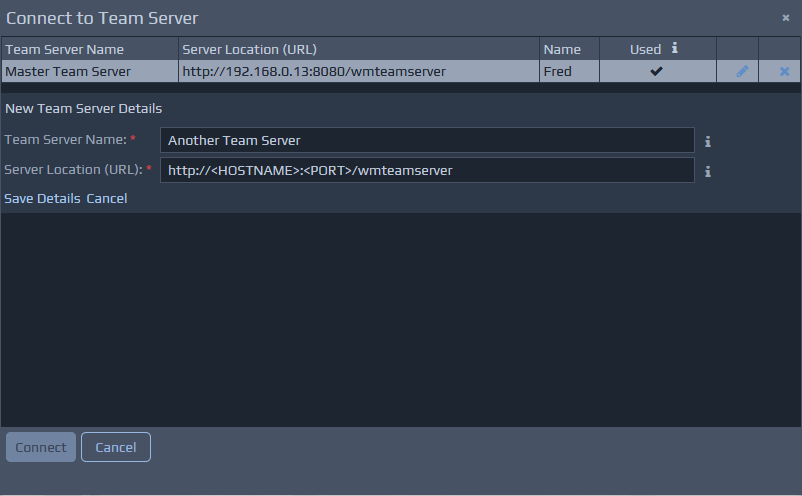
Connect to Team Server
You can define and connect to Team Servers using the Team | Connect to Team Server... menu item. Here, you can specify a name for your Team Server and the URL. The user name is the name that was selected during installation of the WebMaker Studio and will be available by default. This is your name on the Team Server and may be different to any local name you may have if applicable.
You will see a gray cloud symbol on the information bar when you are successfully connected to a Team Server.
Disconnect from Team Server
You can disconnect from Team Servers by using the Team | Disconnect from Team Server... menu item.
You will see a red cloud symbol on the information bar if you have defined a Team Server but not yet connected to it.
User Roles and Sharing Projects
The Team Server provides three main roles, Owner, Collaborator and User. Owners can share projects and provide access for other users. Collaborators can modify projects and perform check in and check out operations. Users can only view project and cannot make modifications.
Public Projects
In the Team | Share Project... dialogue, projects can be marked as public. Public projects can be viewed by all users on the Team Server. Collaborators that are explicitly defined can also make modifications to public projects.
Download Projects
Projects that are shared can be downloaded by using the Team | Download Shared Project... menu option. The project list includes projects that you may have shared to others as well as projects others have shared to you. This action downloads the projects to the local repository, ready for modifications if allowed. By default, the list will filter out projects that have already been downloaded.
 Important - When projects are downloaded they are placed in the same matching Workspace name. You should ensure this is coordinated via working practices within the team.
Change User Roles
User access privileges for projects can be changed by changing their roles in the Team | Share Projects... dialogue and pressing the Share button again.
You can remove projects from the Team Server by using the Team | Remove Shared Project... menu item. Your local copy of the project will remain and can be deleted by using the Design | Delete Project... menu item.
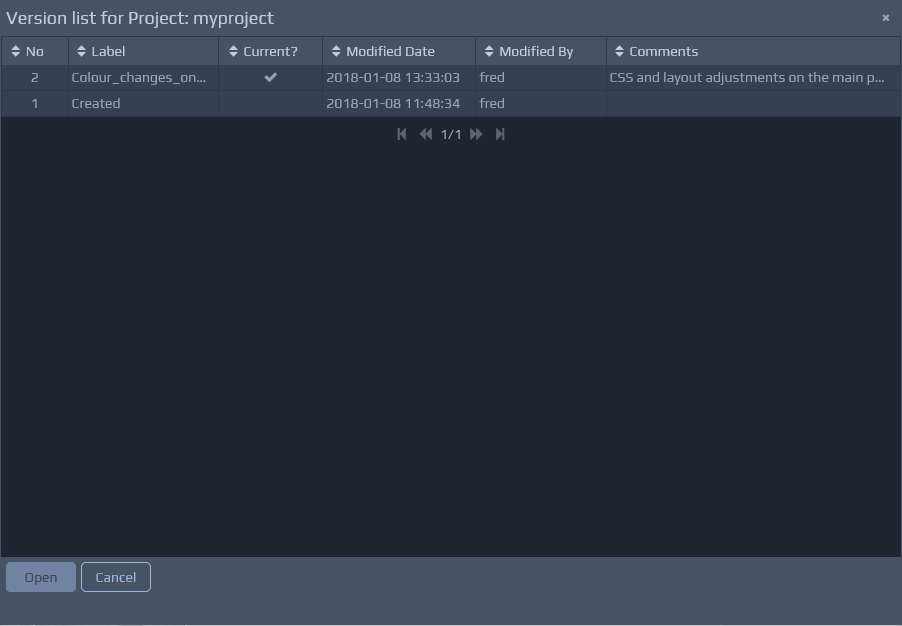
Version History
You can view a list of project versions for a particular project by using the Design | Project Versions... menu item. This list of versions will highlight newer versions in red that might be available in Team Servers for shared projects. The project versions link is also available within various Project Management and Version Control dialogues.